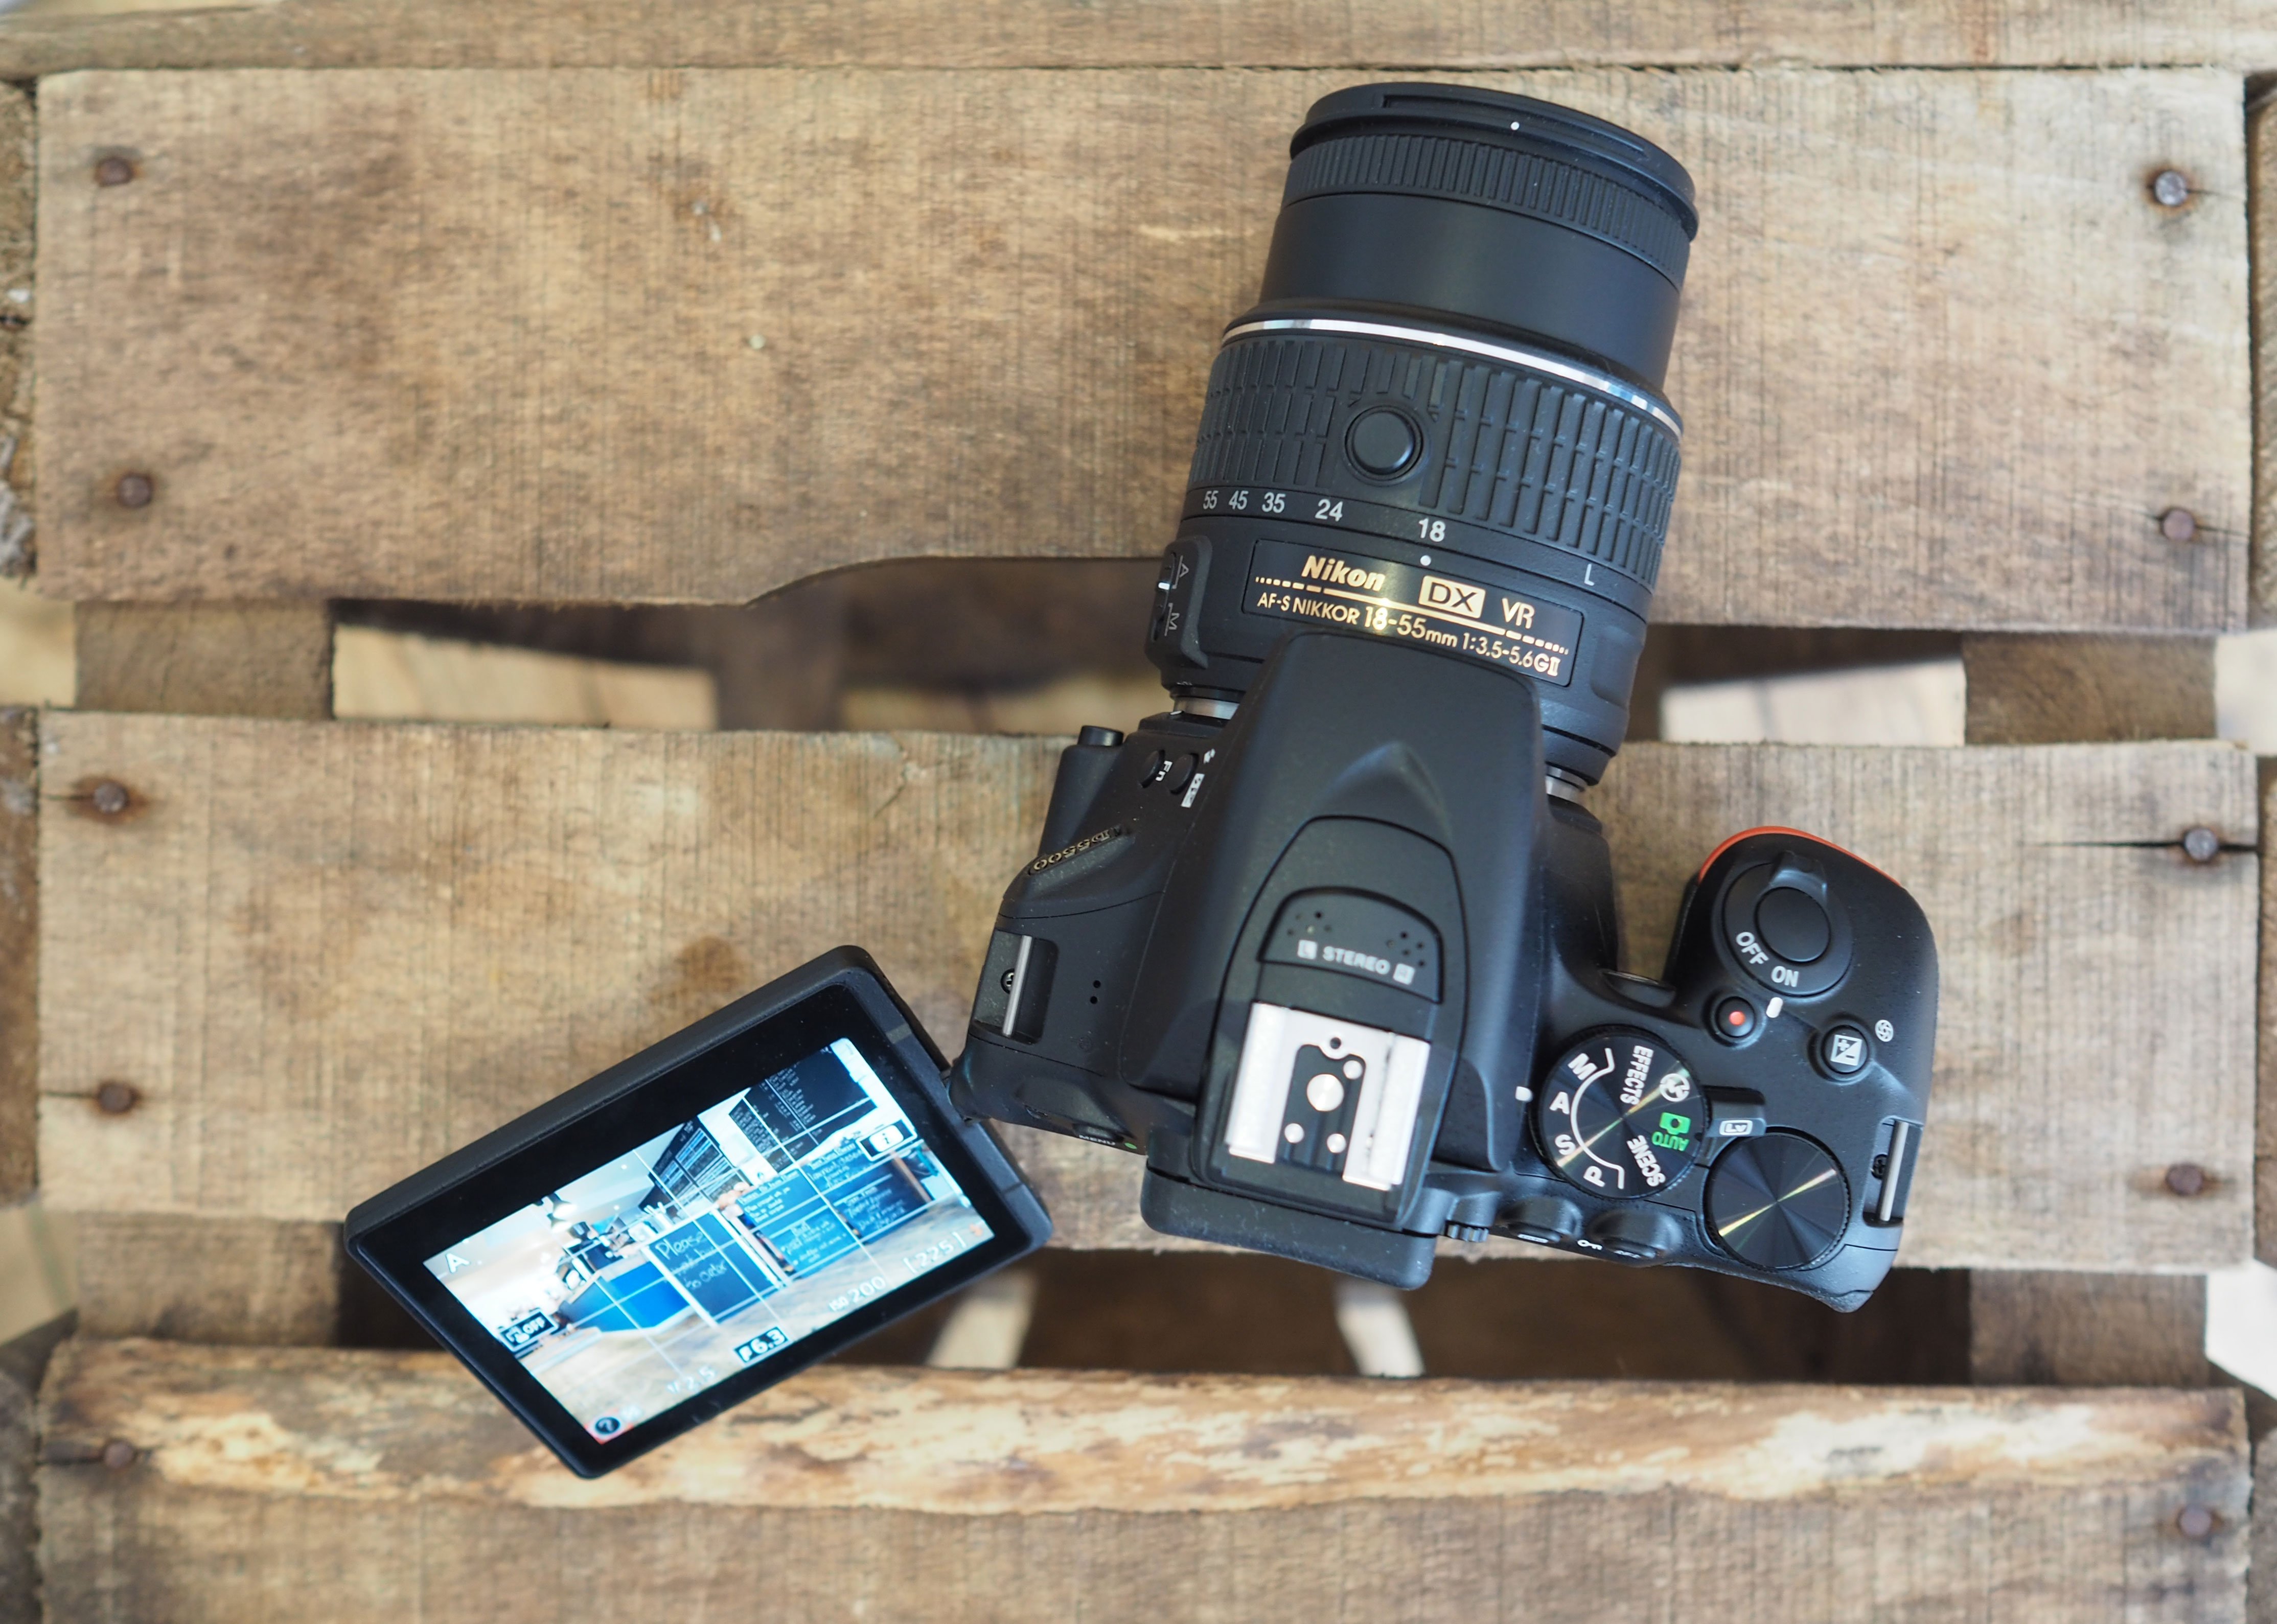
Nikon D5500 review
-
-
Written by Gordon Laing
Intro
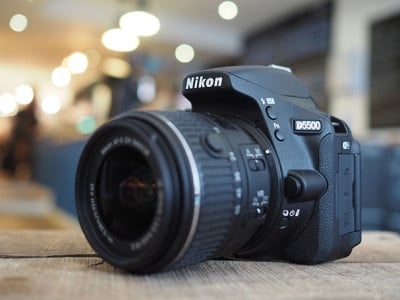
The Nikon D5500 is an upper entry-level DSLR aimed at photographers looking for a step-up from a budget model without the expense or complication of a higher-end camera. Announced in January 2015, it comes just over a year after the D5300, with Nikon skipping the D5400 number.
In Nikon’s range the D5xxx series enjoys benefits absent from other models on either side of it. So like its predecessor, the D5500 boasts a fully-articulated screen that you won’t find on any other model in the range; the D750 is the only other Nikon DSLR with an articulated screen, but it’s limited to vertical tilting whereas the D5500 can flip and twist in any direction. The D5500 however adds a new feature that makes it unique in the entire range: the screen becomes the first for a Nikon DSLR that’s touch-sensitive – at long last!
The body’s also a little smaller and lighter than before, but otherwise the specs remain the same as the D5300 with a 24 Megapixel APSC sensor (without a low pass filter), 5fps continuous shooting, 39-point AF system, 1080 / 50p / 60p video and built-in Wifi. Nikon has however removed the built-in GPS of the D5300, and while it is possible to embed the position via your smartphone and the Nikon app over Wifi, the implementation requires you to sync each shot separately at the actual location. More importantly the D5500 finds itself up against tough competition, most notably Canon’s EOS 750D / T6i and 760D / T6s, along with mirrorless options including Sony’s A6000, all of which sport 24 Megapixel APSC sensors. Find out which is best for you in my Nikon D5500 review!
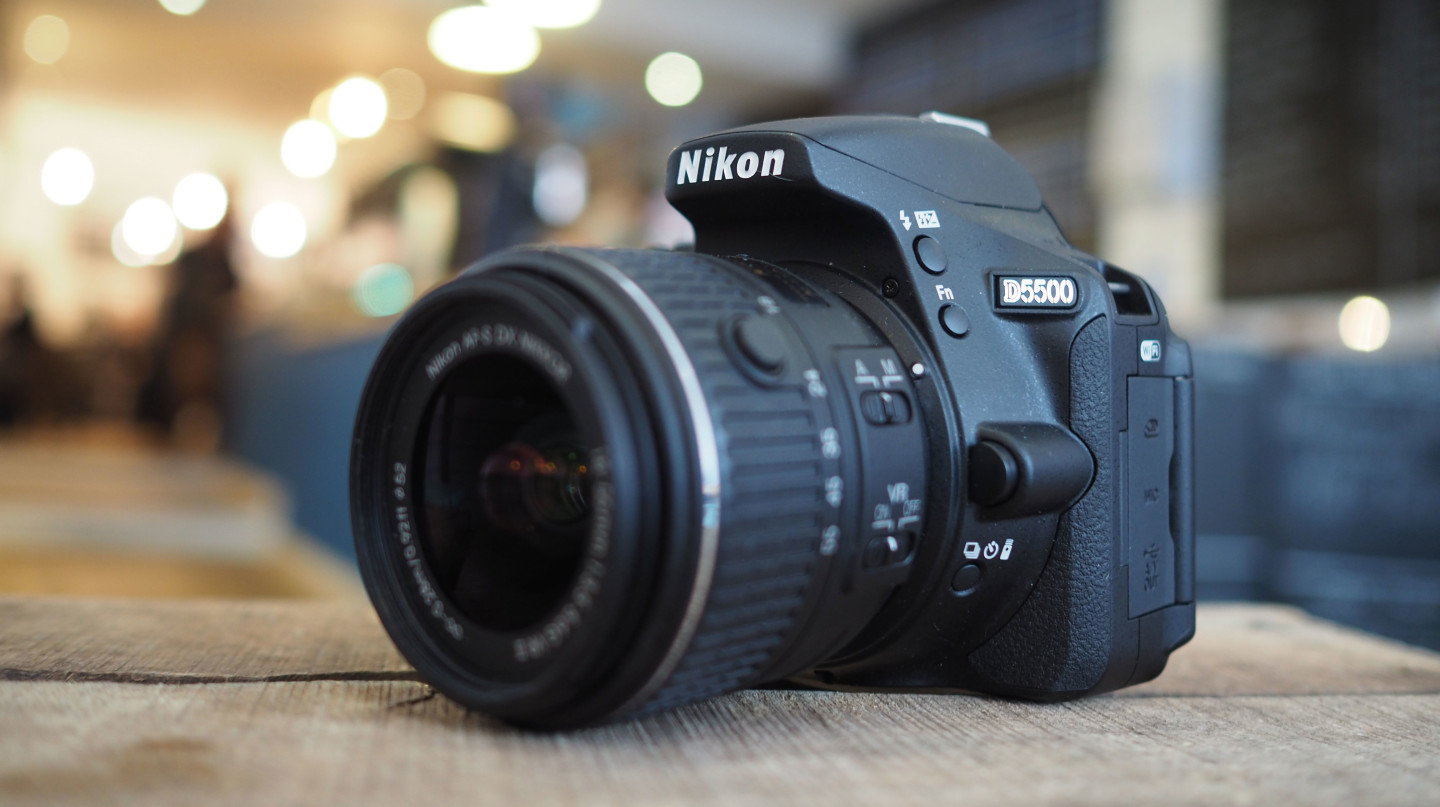
Nikon D5500 design and controls
The D5500 is a fairly compact but traditional-looking DSLR which, at first glance, greatly resembles its predecessor, the D5300. But place both bodies side-by-side and a number of small, but important differences become apparent. Most importantly, while the body itself is a little thinner than before, the D5500’s grip is deeper, making it more comfortable to hold than the D5300. Some of the buttons have moved, while the rear thumb dial is now visible as an exposed wheel on the top surface.
Around the body you’ll find dedicated buttons for the drive mode and exposure compensation, along with a programmable function button which by default, adjust the ISO sensitivity. Most other common settings, like white balance, quality, focusing mode and AF area, are accessed using an on-screen interface by pressing the ‘i’ button and using the small but satisfyingly tactile eight-way rocker on the rear.
Like its predecessor, there’s a dedicated mode dial on the top surface with a spring-loaded lever to fire-up Live View. Once you’re in Live View, movies can be started and stopped by pressing the red record button alongside, and as before the power switch is a collar around the shutter release. Of all the controls, the biggest change concerns the thumb wheel, previously buried within the body, but now completely visible on the top surface. For me, it’s a little too flush with the body and could have done with protruding a little further out, but it’s just about operable without letting go of the camera’s grip.
For composition you have the choice of an optical viewfinder or a fully-articulated touchscreen. There’s a proximity sensor between the viewfinder and hotshoe which can turn the screen off when you bring your eye to the camera, but it’s clever enough to disable the sensor when you’re shooting in Live View; this avoids annoying situations when the screen during Live View is turned off by mistake when the camera is close to your body
The optical viewfinder delivers 95% coverage with 0.82x magnification and the chance to enable an LCD alignment grid. This is roughly comparable to the coverage and size of the optical viewfinder in Canon’s EOS T6i / 750D and T6s /760D, but it’s worth noting mirrorless cameras with electronic viewfinders typically deliver a much bigger image to compose with: the viewfinder in Sony’s Alpha A6000 for example delivers 100% coverage and 1.07x magnification. Side-by-side, the A6000’s viewfinder image is about one third taller and wider, while the 100% coverage means that what you see is what you’ll get. There’s pros and cons to optical and electronic viewfinders, with fans of optical citing a cleaner view in very low light and zero lag when panning to follow subjects, but for me the larger image, full coverage, focusing aids and effect previews make electronic viewfinders ultimately more compelling, especially at this end of the market. The fact is, the optical viewfinders in entry-level and mid-range DSLRs are typically very small and don’t show the whole picture.
I have no complaints with the D5500’s screen though. Like its predecessor, it’s larger than most at 3.2in, and the 3:2 aspect ratio means images fill it without any letterboxing. The 1040k dot resolution is high, and in a very welcome upgrade over the D5300, the panel is now touch-sensitive, allowing you to tap to refocus in Live View, touch to pull-focus while filming movies, tap to adjust settings, along with swiping through images in playback and pinching to zoom. You can also scroll and tap your way through the entire menu system, and while Nikon hasn’t redesigned the layout or font size for touch, it works remarkably well none-the-less and I found myself navigating it faster by touch than with the rocker control. There’s also the chance to enter artist and copyright information, again made much easier by tapping your way through the alphabet on-screen. While composing you can also use touch controls to adjust things like the aperture and shutter in the info view. I felt this was slower compared to using the rear dial, but in general the touch interface is a great enhancement, especially when it comes to selecting AF areas.
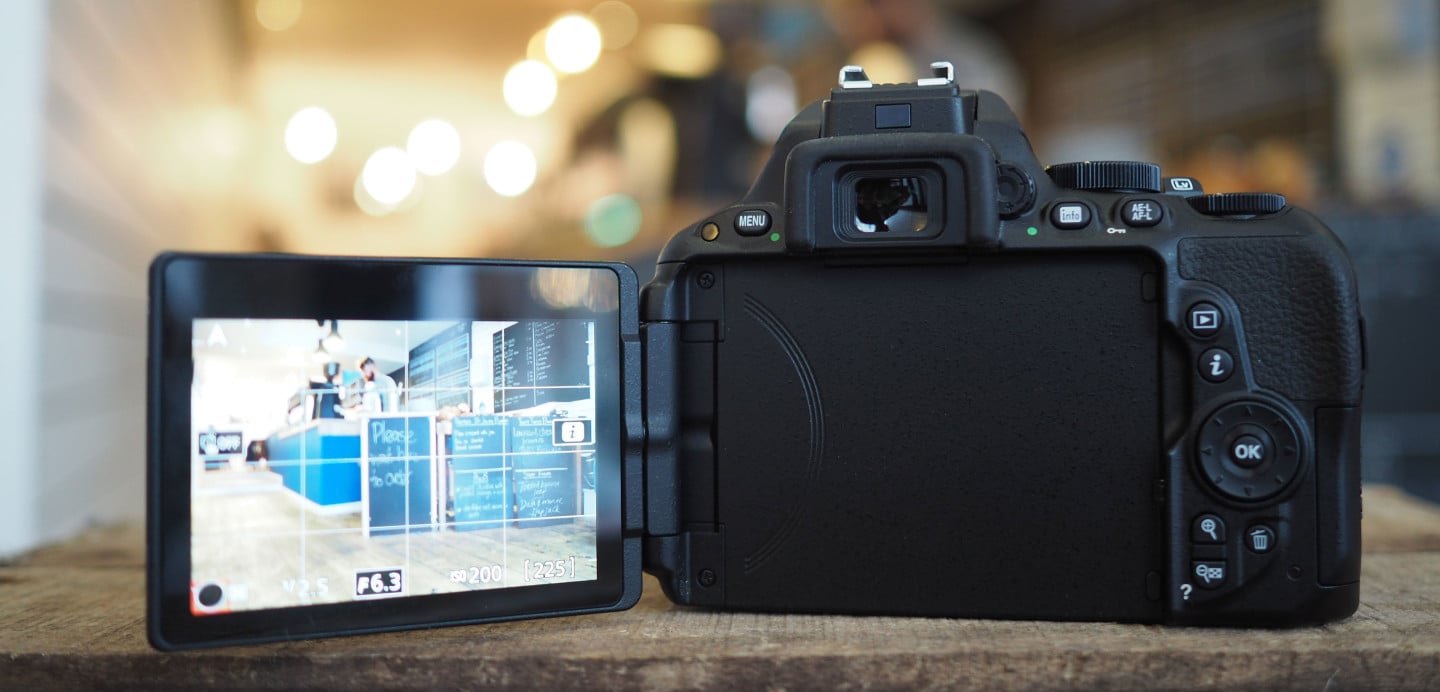
Like its predecessor, the D5500’s screen is also fully-articulated with a side-mounted hinge. This allows it to flip and twist to any position, making it easy to compose at any angle or orientation, including snapping selfies or filming pieces to camera with the screen facing the subject. The screens on Canon’s EOS T6i / 750D and T6s /760D also share the same resolution, shape, touch-sensitivity and full articulation, but are smaller at 3in, which makes a bigger difference than you’d think compared to Nikon’s 3.2in panel. Meanwhile, Sony’s A6000 viewfinder may be larger than the D5500, but its screen is less capable: it’s smaller at 3in, the wider 16:9 aspect ratio means native 3:2 shaped photos are displayed even smaller still, it’s not touch-sensitive and also only tilts vertically with no option to face the subject either.
While shooting in Live View, the screen can show a clean image, ones with varying degrees of shooting information (including audio level meters if desired), and an alignment grid. But there’s no live histogram option, nor focus peaking. Peaking (where the part of the image in focus is highlighted) continues to be surprisingly uncommon on DSLRs, but can prove invaluable when manually focusing for stills or during movies. It’s revealing the Sony offers a live histogram and peaking on the A6000. The D5500 does at least have a clean and detailed image when fully magnified during Live View though, something Nikon DSLRs failed to deliver until recently.
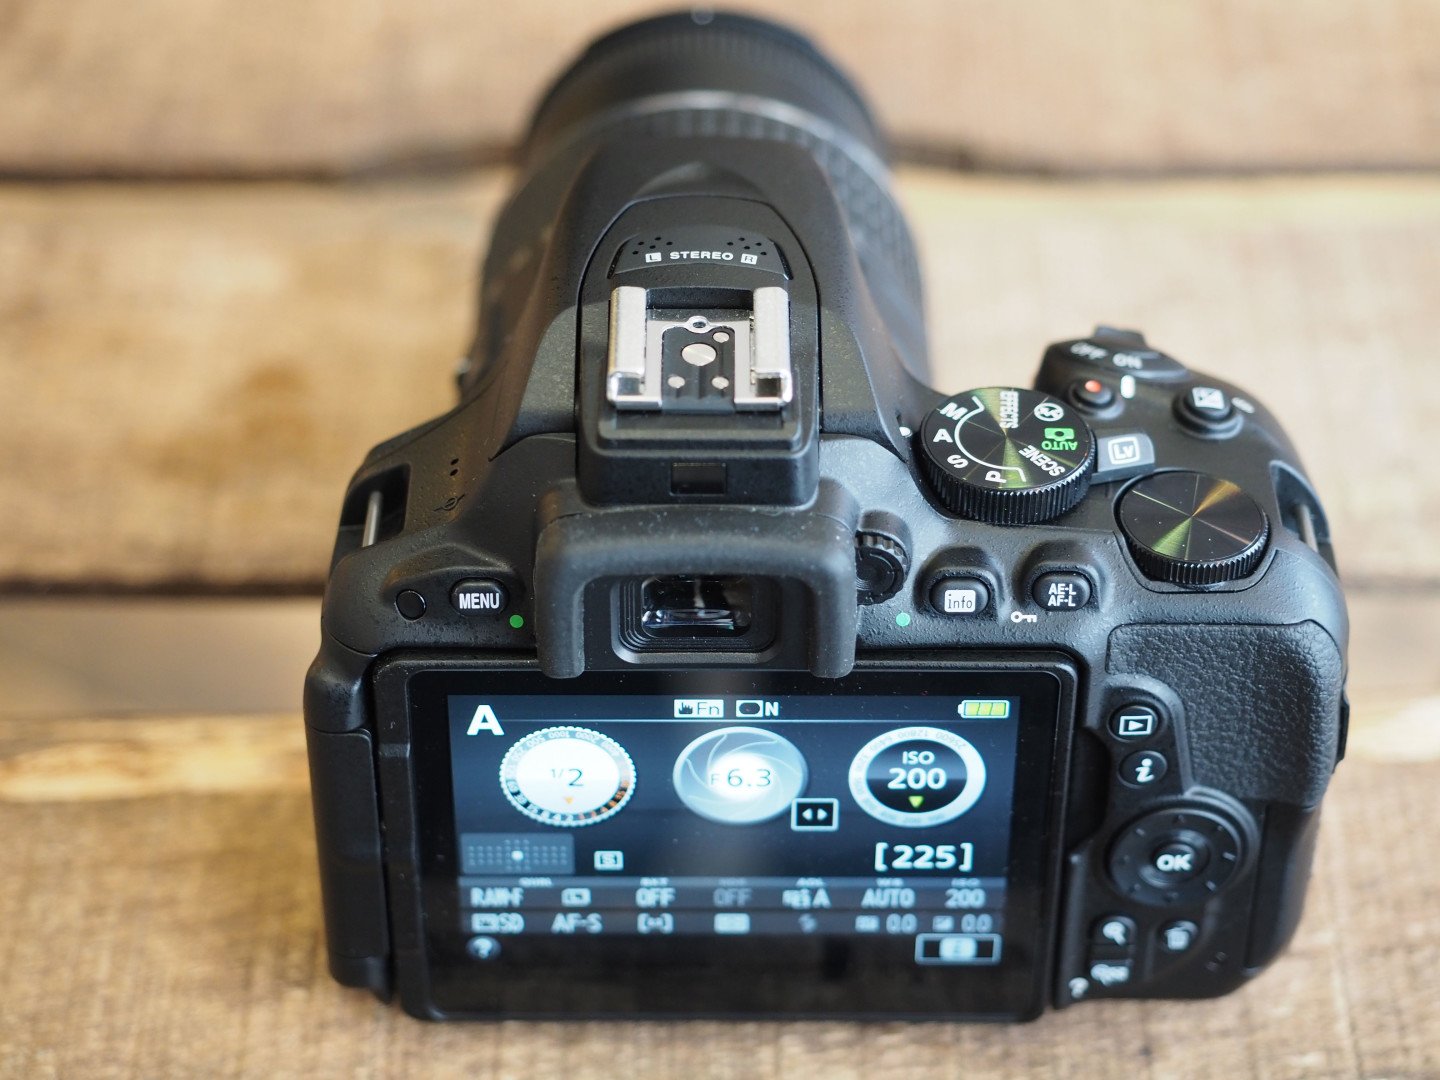
In terms of connectivity, behind a flap on the D5500’s left side you’ll find a combined USB / AV output, 3.5mm microphone input and an accessory terminal for the WR-1 and WR-R10 remotes, MC-DC2 remote cord, or GP-1 / GP-1A GPS units, although you can alternatively tag images with a current GPS position when transferring images to your phone via Wifi and the Nikon app as I’ll explain later. There’s also IR sensors for use with the optional ML-L3 remote control, although again you can trigger the camera remotely with your phone.Behind a dedicated flap on the right side of the camera is an HDMI port using the generously-sized Type C port, rather than the usual tiny Micro ports. Below this is an SD card slot (Class 6 or higher recommended for movies), and underneath the camera in its own compartment, the same EN-EL14a battery as its predecessor which Nikon reckons is good for around 820 shots under CIPA conditions using the optical viewfinder alone or for recording about one hour’s worth of HD video. The battery is recharged using an external unit supplied with the camera.Interestingly, Canon is much less optimistic for the battery life of its EOS T6i / 750D and T6s /760D, quoting 440 shots per charge. As a 1005 Live View camera, the Sony A6000’s battery life is lower still at 360 shots under CIPA conditions, although for me it has the benefit if being rechargeable in-camera over a USB connection. This means I can normally top-up the battery while I’m out and about without needing to carry the charger and find an AC mains outlet.In terms of dimensions, the D5500 is fairly compact for a traditional DSLR, measuring 124x97x70mm and weighing 470g with battery. This makes it 6mm thinner than the older D5300 and about 60g lighter too. It’s also a few mm smaller all-round than Canon’s EOS T6i / 750D, not to mention 85g lighter. So in DSLR terms, it’s fairly compact, but compared to a mirrorless camera of a similar specification, it’s still large, particularly when you take the respective kit zooms into consideration.Below I’ve pictured the D5500 alongside Sony’s A6000 which shares the same size sensor and 24 Megapixel resolution, along with the chance to swap lenses. As you already know, both cameras also have Wifi, viewfinders and articulated screens, the former being larger on the A6000 and the latter being larger and more flexible on the D5500. But just look at the size difference.
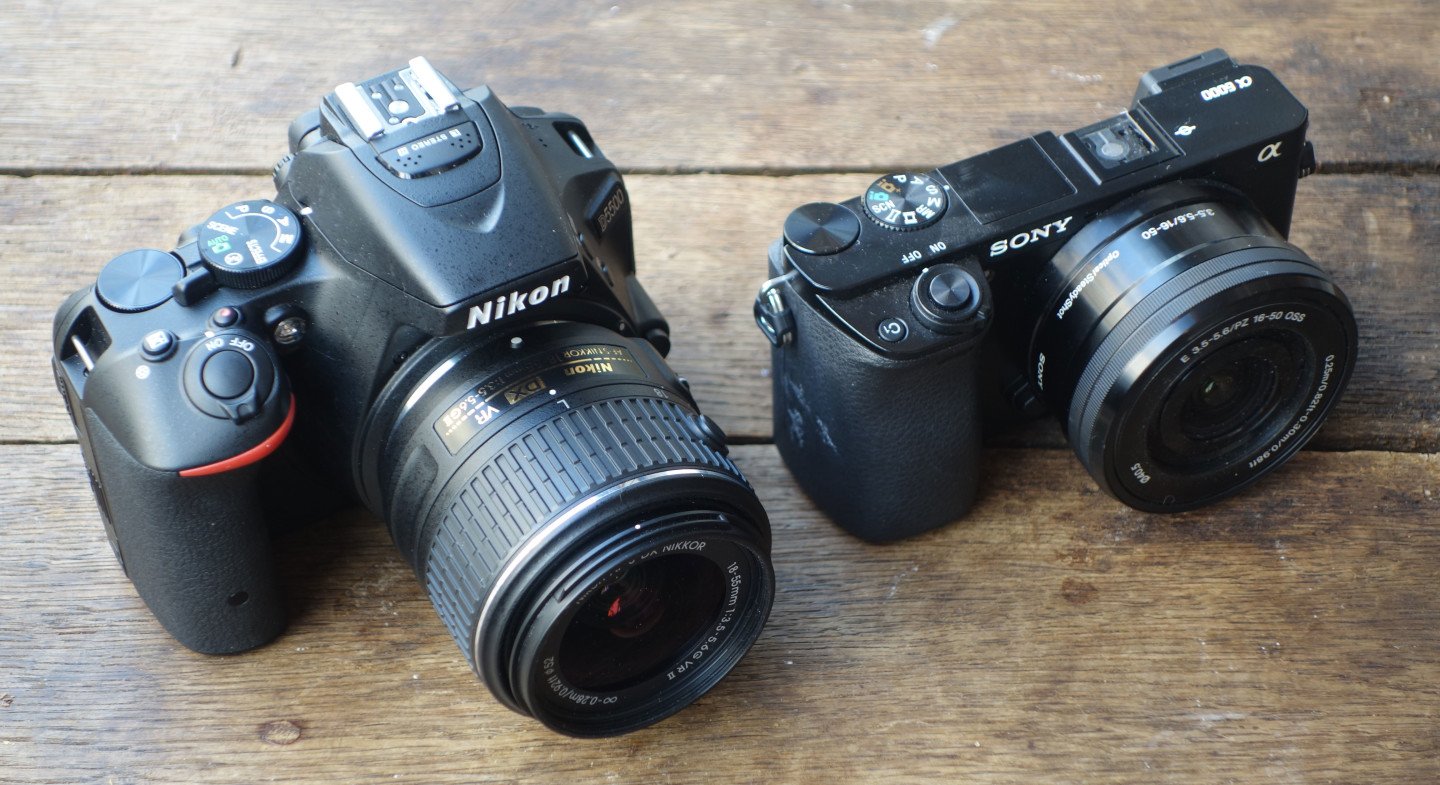
The A6000 measures 120x67x45mm (34mm without the grip) and weighs 344g with battery. Add the 16-50mm kit zoom and the overall thickness increases to 65mm and the overall weight to 460g. Add the collapsing 18-55mm kit zoom to the D5500 and its depth increases to 130mm and its weight to 665g. So with their lenses mounted, the D5500 is double the thickness of the A6000 kit and about 50% heavier, and while their width is similar, the Sony is 30mm shorter.While the D5500 is a little more comfortable to hold, especially for those with bigger hands, I think it’s pretty clear which one will fit in your bag or coat pocket more easily. The bottom line for me is the D5500 even with its smallest lens is still something I may not always carry with me, whereas the A6000 would go everywhere. The size and wright of a camera, not to mention the way it looks and feels in your hands is of course highly personal, but at this end of the market I feel traditional DSLRs are physically less compelling.
Nikon D5500 lenses
The Nikon D5500’s F-mount can accommodate most Nikkor lenses, with the DX-format sensor resulting in their field of view being reduced by 1.5 times; so the DX 18-55mm VR kit lens delivers an effective focal range of 27-83mm. Here’s how the coverage of that lens looks in practice.
Nikkor DX 18-55mm VR II coverage wide | Nikkor DX 18-55mm VR II coverage tele | |
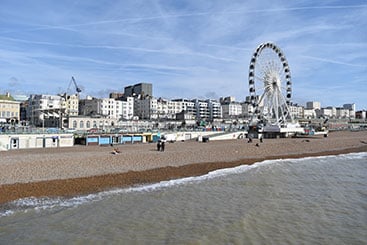 |  | |
| 18-55mm at 18mm (27mm equivalent) | 18-55mm at 55mm (83mm equivalent) | |
The D5500, like all D5xxx and D3xxx models to date does not feature a built-in AF motor which means you’ll only enjoy autofocus with lenses that have their own focusing motors. In Nikon’s range, that means looking out for models which start with AF-S. Non AF-S lenses in Nikon’s range become manual focus only.
The D5500 is typically available body alone or in kits with either the AF-S DX 18-55mm VR II or AF-S DX 18-140mm VR. I tested it with the former, which, in terms of focal length and f3.5-5.6 aperture, is fairly standard, but can collapse for transportation, reducing its length to 60mm. When retracted, you’ll need to hold a button on the barrel and twist the zoom ring from the L position to anywhere in the normal focal range. Once unlocked, the zoom ring stays within the normal operating range, until you hold the button again, allowing you to retract it again. If you power-up the camera with the lens in its retracted position, you’ll see a warning on-screen to extend it. The collapsing lens certainly makes the overall combination smaller, but as you saw earlier, it remains a world apart from typical mirrorless options.
Both kit lenses feature VR, Nikon’s name for optical stabilization to counteract camera shake. In My tests with the lens set to 55mm (for 83mm equivalent), I found I needed a shutter speed of 1/40 or faster without VR to handhold without visible shake. With VR enabled, I could achieve the same result at 1/10 and a fair result at 1/5, corresponding to between two and three stops of compensation. It’s not amazing, but still useful to have at your disposal.
If you’re already looking for a second lens, may I suggest the Nikkor AF-S 50mm f1.8G, which offers a much brighter aperture than any of the kit zooms. Not only does this let you use it in lower light without having to increase the ISO to avoid slow shutter speeds, but it also delivers much shallower depth of field effects. Here’s a comparison I made for a portrait – notice how the background blurring is much greater on the version below right.
Nikkor DX 18-55mm VR II depth of field at 50mm f5.6 | Nikkor AF-S 50mm f1.8G depth of field at f1.8 | |
 |  | |
| 18-55mm at 50mm (75mm equivalent) | 50mm (75mm equivalent) | |
Nikon D5500 Shooting Experience
The D5500 offers the traditional Program, Aperture Priority, Shutter Priority and Manual modes, along with access to a bunch of Scene presets, a selection of Effects or fully automatic. Previously on the D5300, the five most common scenes enjoyed their own positions on the mode dial, but now it’s been simplified with them all coming under the Scene position which makes more sense to me. Once again there’s no movie mode position on the dial as you can start shooting in any mode by simply entering Live View then pressing the red button by the shutter release.
The D5500 offers shutter speeds between 1/4000 to 30 seconds with a Bulb option in Manual; Program Shift is also available. Exposure compensation is available in a broader than average range of +/-5EV, and basic exposure bracketing is offered with three frames in steps between 0.3 and 2EV.
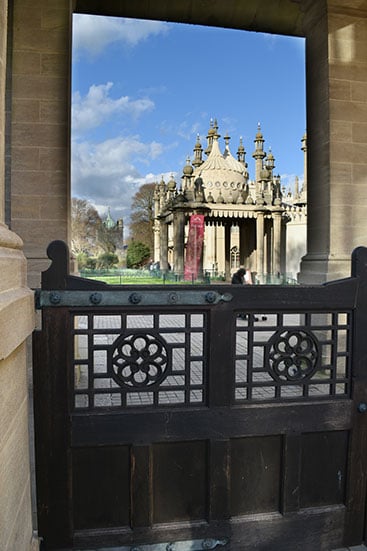
Automatic tone control is handled by Active D-Lighting, which is enabled by default, so that’s what you’ll see in all my sample images. Like its predecessor, there’s also an HDR mode which takes and combines two separate exposures into one. There’s a variety of strengths to choose from, along with an auto option; here’s how the strongest Extra High option compares to a normal single frame (without Active D-Lighting either).
Nikon D5500 HDR mode disabled | Nikon D5500 HDR Extra High | |
 |  | |
 |  | |
| HDR disabled, 1/250, f5.6 | HDR Extra High, 1/250, f5.6 | |
In a nice move for a mid-range camera, the D5500 offers a built-in interval timer which will capture frames for a timelapse. You can capture between one and 9999 frames at intervals of one second to 24 hours apart and you can delay the start of the process by as long as seven days. Exposure smoothing is also available for less jarring transitions.
A Quiet mode is available, but this just seems to delay the second half of the shutter process until you let go of the shutter release button. In practice it does dull the overall sound, but not significantly. Quiet operation is again where many mirrorless cameras are taking the lead with optional electronic shutter options which are completely silent in use. That said, it’s a feature the Sony A6000 also lacks.
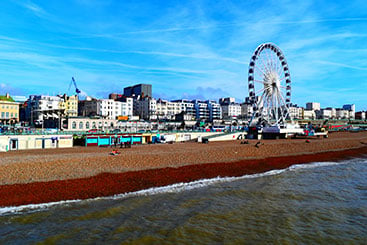
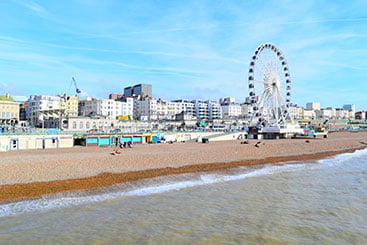
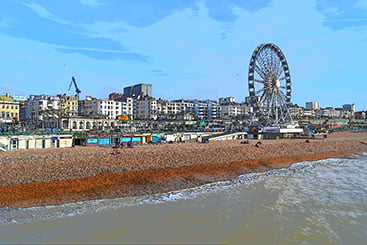
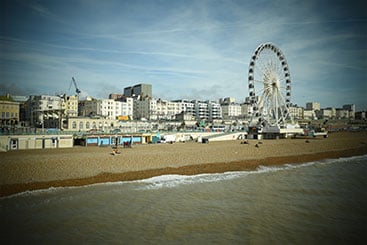
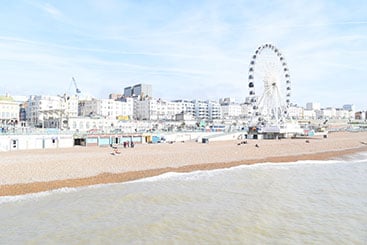
With the mode dial set to EFFECTS, you can choose from ten different options: Night Vision, Super Vivid, Pop, Photo Illustration, Toy Camera, Miniature, Selective Colour, Silhouette, High Key and Low Key. Here’s how a selection of them look in practice.
Nikon D5500 Effect: Super Vivid | Nikon D5500 Effect: Pop | |
 |  | |
Nikon D5500 Effect: Photo Illustration | Nikon D5500 Effect: Toy Camera | |
 |  | |
Nikon D5500 Effect: High Key | Nikon D5500 Effect: Low Key | |
 |  | |
| |
|---|---|
| |
| |
When shooting through the optical viewfinder, the D5500 inherits the Multi-CAM 4800DX AF system of the D5300 and the D5200 before that, equipping them all with the same 39-point AF system with nine cross-type sensors. You can choose a single AF point manually, or let the camera choose from 11 or all 39 AF points. There’s single and continuous AF options, the latter doing a good job at maintaining focus on a moving subject, as you’d expect for a DSLR operating within its comfort zone. Single AF with the kit zoom is fairly swift, generally locking-on in about half a second; it’s not the fastest, especially when racking from the closest to longest focusing distances, but rarely feels like it’s keeping you waiting.
Switch to Live View and the D5500 adopts a 100% contrast-based AF system which allows you to focus pretty much anywhere on the frame; you can also use the touch-screen to quickly move the AF area. In AF-S mode, the camera will focus with a half-press of the shutter, while in AF-F mode, it’ll attempt to continuously autofocus. In Live View using the kit zoom, you’re looking at between one and two seconds to lock-onto a target, so long as it has sufficient contrast; sometimes it can struggle to focus at all. Obviously the refocusing period is way too slow to support any kind of useful tracking of a subject in motion. So if you want to shoot action, you should use the viewfinder, not the screen.
That’s not to say it’s not possible to shoot action in live view though, it’s just that you won’t be doing it with the D5500. Canon’s EOS T6i / 750D and T6s /760D, along with Sony’s A6000 all feature sensors with phase-detect AF points embedded into their main sensors. This allows them to support faster single AF and more convincing continuous AF in Live View and movies than 100% contrast-based systems like the D5500. It’s particularly important for the A6000 because as a mirrorless camera it doesn’t have an optical viewfinder AF system to fall back on. So if you want to shoot action with the camera’s screen, I’d go for the Canon or Sony instead of the D5500. It’s also important to mention the Sony lenses and Canon STM lenses focus very quietly too, making them more discreet than the Nikon lenses when refocusing during videos.
In terms of continuous shooting, the D5500 has a top burst speed of 5fps. With the quality set to Large Fine JPEG, I fired-off 62 frames in 12.2 seconds for a speed of 5.1fps, after which the speed slowed a little up to the maximum burst of 100 frames. With the quality set to 14 bit RAW, I captured seven frames in 1.51 seconds for a speed of 4.6fps, before it slowed significantly.
Canon’s EOS T6i / 750D and T6s /760D also shoot at 5fps, implying this is the sort of speed you can expect at this price point. But again Sony doesn’t play by the same rules, and offers 11fps on the A6000 at roughly the same price. Long ago Sony recognized fast burst speeds as a way to differentiate itself from Canon and Nikon, and this still applies today. The A6000’s 100% live view composition may not be ideal for panning to follow action, but ultimately I’d prefer to shoot with it for action than the Canon or Nikon mid-range DSLRs.
The D5500 is equipped with built-in Wifi which provides basic remote control and wireless transfer of images to an iOS or Android smartphone running the free Wireless Mobile Utility, or WMU for short. There’s also basic GPS tagging available.
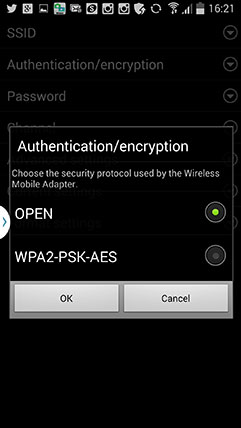
Like earlier Nikon DSLRs, the implementation is fairly basic. Unlike the Sony mirrorless and latest Canon DSLRs, there’s no NFC for touch-negotiation. Instead you enable Wifi from a camera menu, start the WMU app, then select the camera from the Wifi network menu. When doing so, you’ll notice there’s no password by default, which makes it quick to connect but obviously lacks any security. I can’t imagine many people nearby with phones running the WMU app, waiting to hijack your photos, but the more security-conscious may prefer to enable a password option from the app.
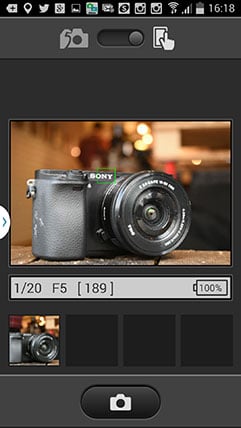
Once connected you have two main options: Take Photos and View Photos. The former fires-up a live view from the camera, with the chance to reposition the AF area by touch and take the photo. You can view the exposure, but sadly there’s no chance to adjust it, nor even to trigger a movie recording. It really is just view and snap.
 |  |  |
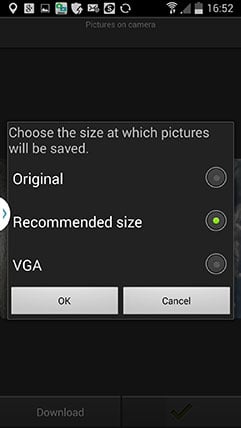
The second main option, View Photos, lets you browse images on the camera or in the phone. Choose the former and the app will download thumbnails from the camera, which can take some time if you have a lot of images on the card; annoyingly the app doesn’t cache the thumbnails, so anytime you want to copy over even just one image you’ll need to wait for the thumbnails to be transferred again and it can take a while. Once complete you can copy over JPEG or NEF RAW files onto your handset, the former in a choice of sizes: Original, Recommended Size or VGA. The recommended size is a preset optimized for the device in question, which on my Galaxy S4 resized to 1620×1080, matching the vertical height of my display, but obviously giving no extra detail to zoom-in.
 |  | 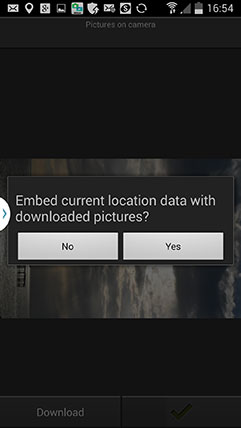 |
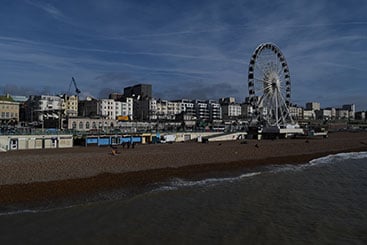
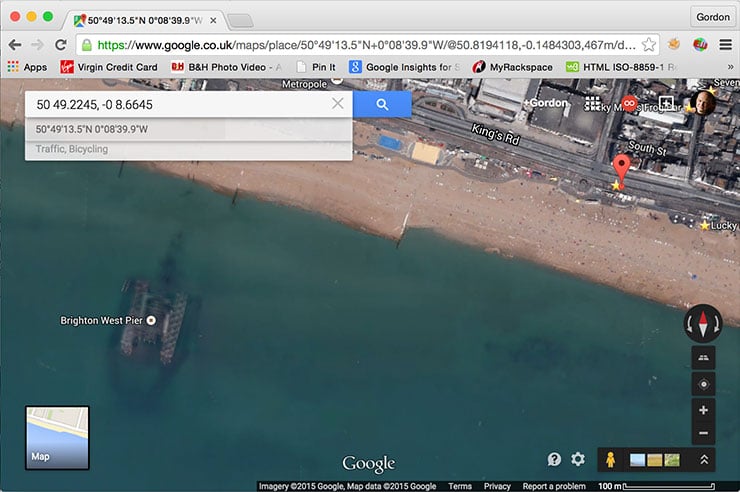
Just before transferring the image, the app also asks if you’d like to embed your current position on the file using the GPS information from your handset. This works fine, but unfortunately is only applied to the image that’s being copied onto your phone and not to the original file that’s stored in the camera. Additionally it’ll only take the position at the time you make the transfer to your handset, so if you download photos later using Wifi and opt to embed the position, they’ll have your current (and incorrect) position embedded in them rather than actually where they were took. This greatly limits the usefulness of the feature as if you want all your images tagged with their position, you’ll need to connect to the camera using Wifi immediately after taking every photo, then copy the original file, otherwise you may end up with the wrong position and or a lower resolution image. Why Nikon can’t just implement a GPS logging feature is beyond me, but of course there are third party apps that can do it for you if you want to tag many, or all, images during a shoot. I should also mention that the earlier D5300 avoided this nonsense by actually featuring a built-in GPS receiver, although to be fair most manufacturers are now removing these on their latest models in favour of a cheaper Wifi / smartphone solution. Anyway, here’s one I tagged earlier.
| |||
| |||
Nikon D5500 movie mode
The D5500 is equipped with essentially the same movie capabilities as its predecessor. So you’re able to film 1080p at 24, 25, 30, 50 or 60p at the choice of two quality settings; I used High quality for my sample clips, and mostly filmed at 25p or 50p to match the lighting frequency in the UK.
If you enable manual exposures in the movie menu and set the mode dial to Manual, you have full control over the aperture, shutter and ISO, although if you want Auto ISO you’ll need to disable manual exposure and go fully automatic. Sadly despite the presence of a touch-screen there’s no silent exposure controls. There’s also no focus peaking or zebra patterns available, but there is a flat picture profile for those who want to grade later.
Audio is recorded using the built-in stereo mics or via the stereo 3.5mm microphone jack. You can choose auto or manual sensitivity and if desired, view level meters on-screen.
The D5500 offers two AF modes for movies – and Live View in general: AF-S and AF-F, the latter attempting to continuously autofocus if the subject distance varies. With a 100% contrast-based AF system in Live View and movies though, this is best-suited to single rather than continuous adjustments, and unfortunately the sound of the lens refocusing is quite audible. As such I normally disable AF-F when filming with any Nikon DSLRs to date. Here’s a selection of clips to demonstrate the movie capabilities in practice.
| |
|---|---|
| |
| |
| |
|---|---|
| |
| |
| |
|---|---|
| |
| |
| |
|---|---|
| |
| |
| |
|---|---|
| |
| |
| |
|---|---|
| |
| |
| |
|---|---|
| |
| |
| |||||
|---|---|---|---|---|---|
| |||||
| |||||
| Nikon D5500 movie noise in low light / 1080 / 25p / 100% crops from composition above | |||||
 |  |  | |||
| 800 ISO (100% crop) | 1600 ISO (100% crop) | 3200 ISO (100% crop) | |||
 |  |  | |||
| 6400 ISO (100% crop) | 12800 ISO (100% crop) | 25600 ISO (100% crop) | |||
Nikon D5500 results!
Okay, now the main part of the review is over it’s time to look at the image quality with my Nikon D5500 quality results, Nikon D5500 noise comparison, Nikon D5500 sample images. Alternatively if you’ve already seen enough, skip straight ahead to my verdict!
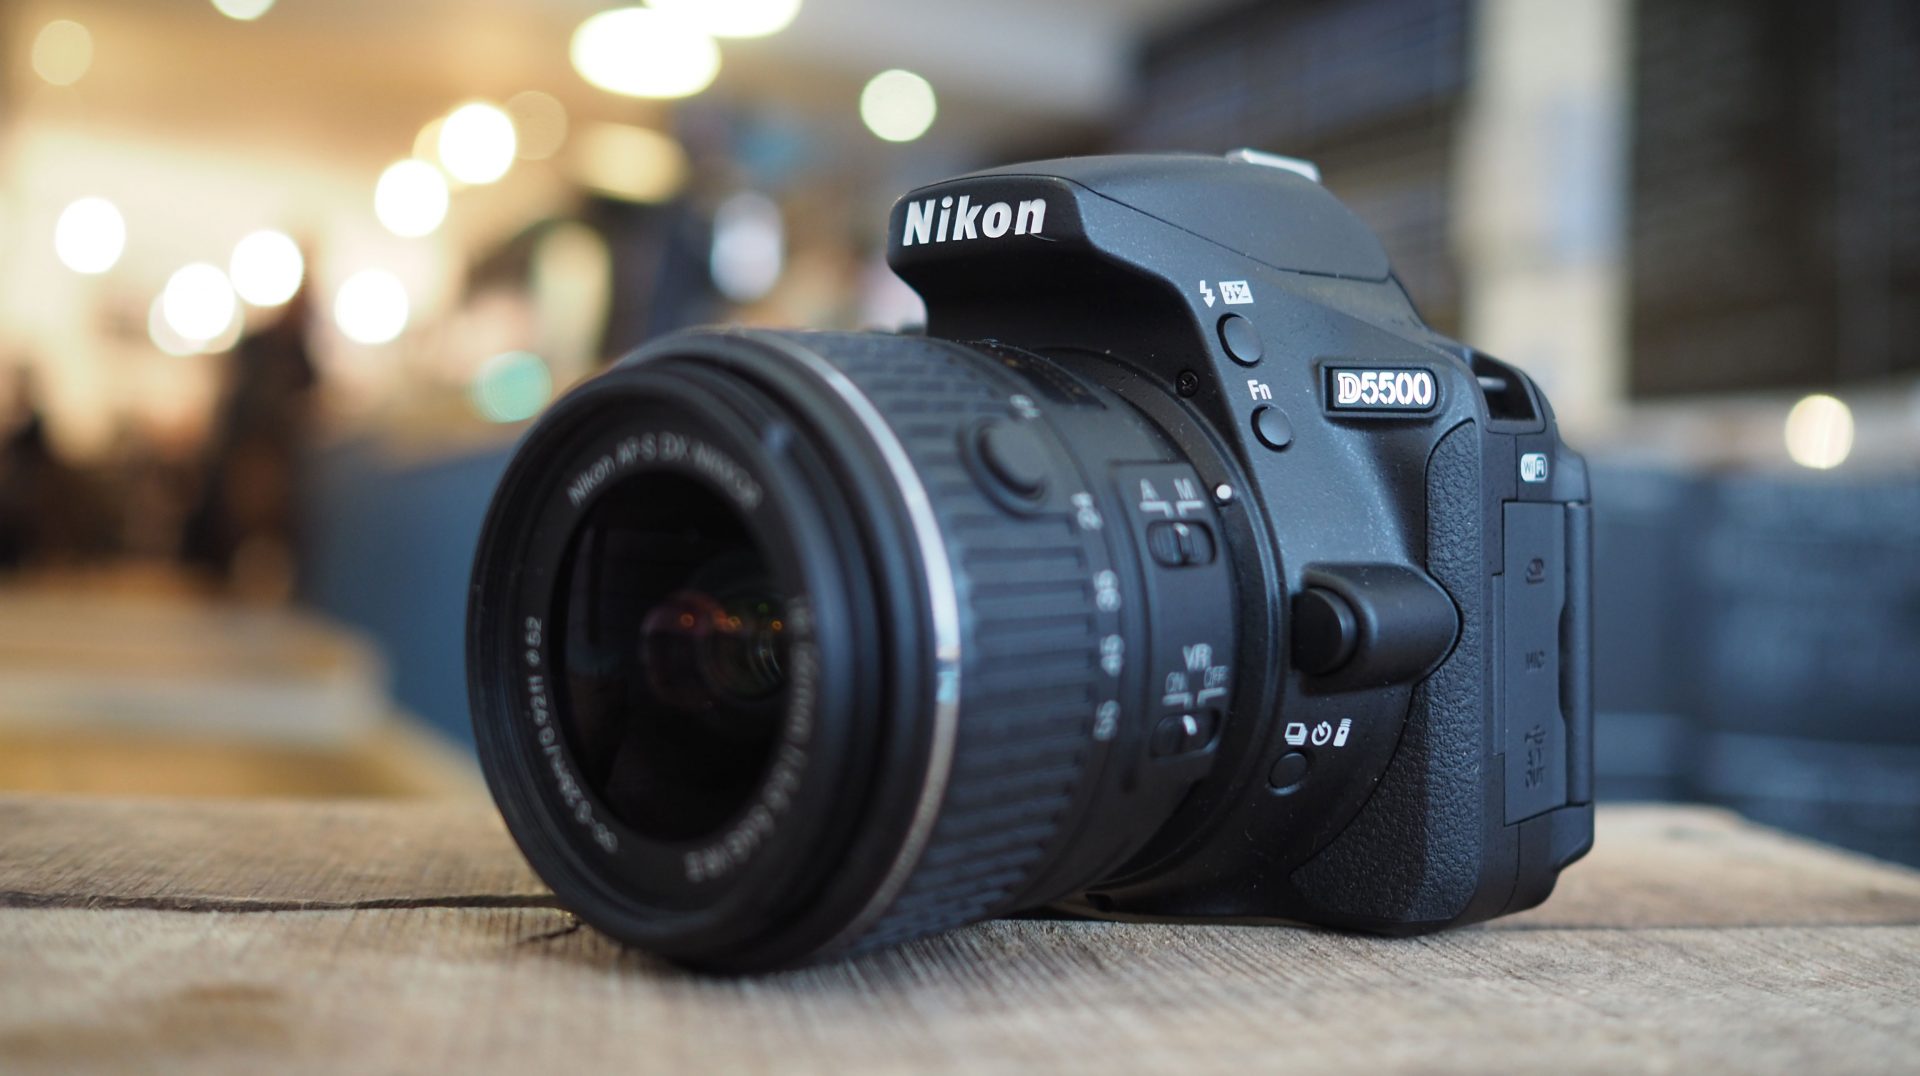
 Nikon's D5500 is an upper entry-level DSLR aimed at photographers looking for a step-up from a budget model without the expense or complication of a higher-end camera. It shares the same 24 Megapixel resolution as the models above and below it, but remains the only model in the entire range to feature a fully-articulated, side-hinged screen. Like the D5300 before it, the screen remains large at 3.2in, but in a welcome upgrade, it's now touch-sensitive. The GPS of its predecessor has sadly gone, but the Wifi remains, allowing you to wirelessly transfer images or remote control it with your smartphone. The collapsing kit zoom impacts the ultimate image quality, and the movie / live view autofocusing is slower and noisier than rival Canon bodies fitted with STM lenses. But none of this stands in the way of what's a very solid DSLR for the money. Do compare closely with Canon's EOS T6i / 750D, and in the mirrorless World, models like the Sony A6000.